
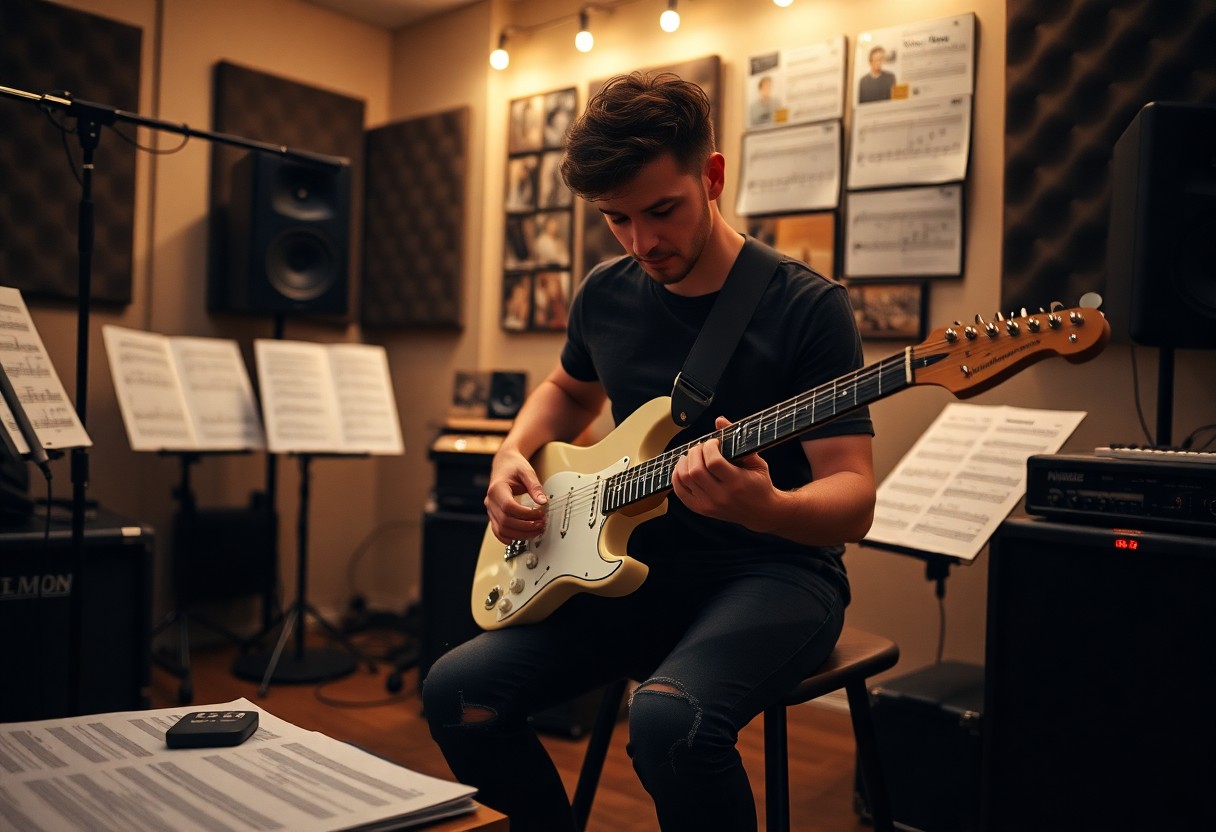

Many musicians find that using a looper pedal can elevate their guitar playing, allowing for creativity and depth in your music. This powerful tool enables you to record phrases and layer sounds in real-time, transforming your guitar performance into a complex musical experience. In this post, you’ll learn the basics of setting up your looper pedal, how to create loops, and tips for incorporating them into your practice and performances. Let’s probe how you can maximize your guitar skills with this innovative device!

Understanding the Looper Pedal
While you may be familiar with the basics of guitar playing, a looper pedal opens up a new world of creativity. It allows you to record and layer your playing, adding depth and texture to your music. This tool can enhance both practice and performance, giving you the ability to create rhythm, melody, and harmony all at once.
What is a Looper Pedal?
Across various genres of music, a looper pedal serves as an electronic device that records audio in real time, letting you play it back in a loop. This enables you to create complex soundscapes by layering multiple loops, making it ideal for solo artists and songwriting as well as live performances.
How a Looper Pedal Works
With a looper pedal, you simply play your desired phrase or riff, and the pedal captures that sound. Once you press the stop button, the recorded loop plays continuously, allowing you to jam over it or build additional layers on top.
It utilizes a straightforward mechanism of recording, playback, and overdubbing to create your desired sound. Most looper pedals feature controls for adjusting the loop length, tempo, and effects, giving you flexibility in your sound. Understanding these controls is important for maximizing your creativity and getting the most from your looper experience. You’ll want to explore how to manipulate these features effectively to enhance your guitar playing.
Setting Up Your Gear
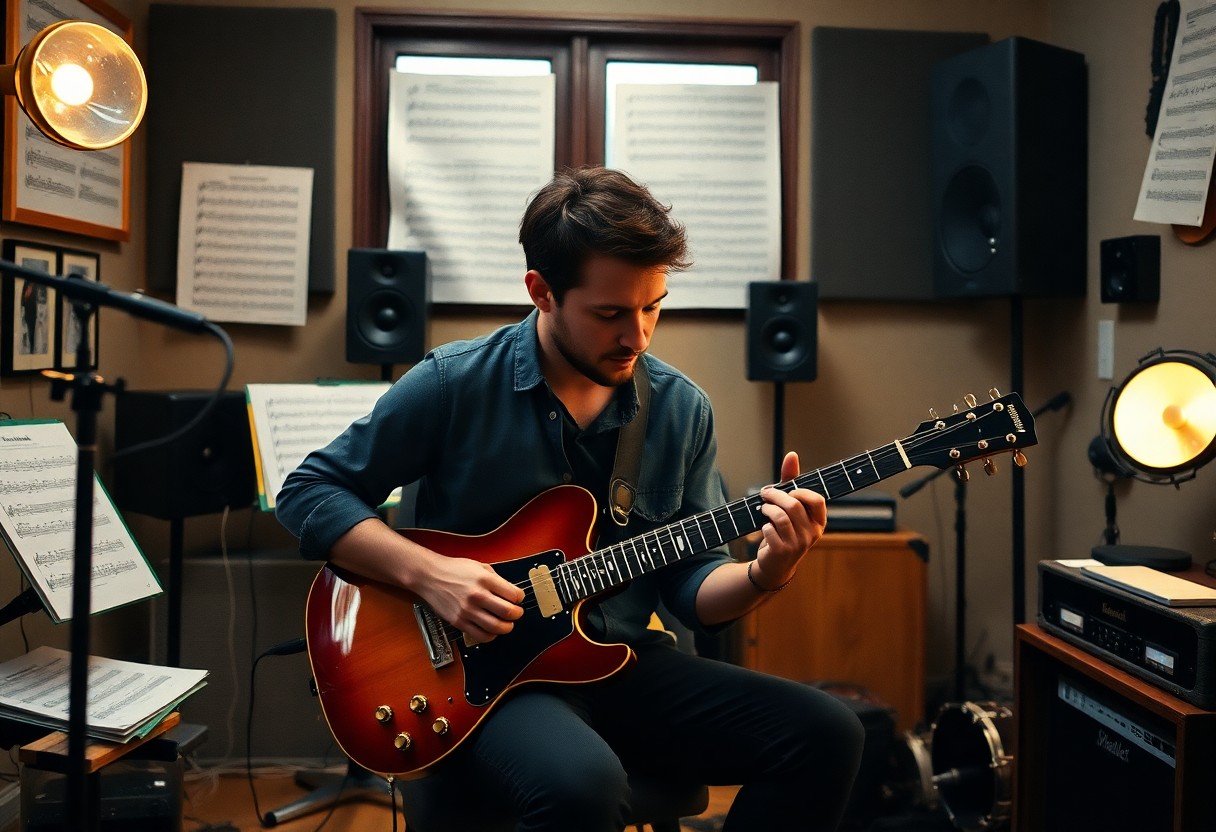
Any great looper performance starts with proper setup. You’ll want to ensure that your guitar, looper pedal, and any additional effects are connected and powered. Take a moment to organize your workspace so everything is easily accessible, allowing you to focus on making music without distractions.
Required Equipment
The importants for using a looper pedal include your guitar, the looper pedal itself, and an amplifier. You may also want to have patch cables for connections, a power supply or batteries for your looper, and possibly additional effects pedals if you wish to enhance your sound.
Connecting Your Looper Pedal
For successful integration of your looper pedal, you will need to connect it properly to your guitar and amplifier. Start by plugging your guitar into the input jack of the looper pedal, and then connect the output jack of the pedal to your amplifier’s input. Make sure to secure all cable connections to avoid any disruptions while playing.
Even a minor misconnection can impact your sound, so take your time to ensure everything is plugged in correctly. Check that your looper pedal is powered on, either through batteries or a power adapter. Once everything is connected and powered up, choose your preferred settings on the looper pedal to prepare for your performance.
Basic Looping Techniques
One of the most exciting aspects of using a looper pedal is the ability to create rich, layered soundscapes. To master this, you’ll want to explore the fundamental techniques that serve as the building blocks for your looping journey. Start by familiarizing yourself with your pedal’s controls and functionality, as this knowledge will unlock a world of creative possibilities. Practice creating foundational loops and layering them to develop dynamic musical ideas, enhancing your songs with texture and depth.
Creating Your First Loop
Techniques for creating your first loop focus on establishing a simple, rhythmic foundation. To do this, start by strumming a basic chord progression or playing a catchy riff. Once you’ve got a solid rhythm, activate the looper pedal to record your performance. When you’re satisfied with the initial loop, use the pedal to playback and adjust your timing, ensuring a clean and seamless loop that serves as your canvas for further creativity.
Layering Sounds
The process of layering sounds allows you to add depth and complexity to your musical composition. By recording multiple loops over your foundation, you can introduce harmonies, melodies, or counter-rhythms that enhance the overall sound. This technique not only enriches your performance but also builds texture in your music, making it feel fuller and more engaging for your audience.
With layering, experimentation is key. Start by building a base loop, then add additional elements one at a time. Try different instruments or vocal lines to see how they interact with the existing loop. Play with varying dynamics and effects to shape your sound further. As you become comfortable, you can explore more complex structures, like alternating between different loops and creating call-and-response patterns. This will expand your musical compositions and make your performances truly captivating.
Advanced Looping Techniques
Keep exploring advanced looping techniques to elevate your performance. These methods can bring a new dimension to your sound and creativity:
| Technique | Description |
|---|---|
| Layered Loops | Create multiple loops simultaneously for complex textures. |
| Tempo Changes | Alter the loops’ tempo to create dynamic variations. |
| Overdubbing | Add new rhythms or melodies over existing loops for depth. |
Using Effects with Loops
Among the most exciting aspects of looping is integrating effects into your loops. Effects such as delay, reverb, and distortion can transform your sound, adding depth and character to your loops. Experiment with different combinations to find unique textures that complement your style.
Live Performance Tips
To ensure a smooth live performance, practice these tips:
- Familiarize yourself with your looper’s controls.
- Prepare your loops ahead of time to minimize awkward pauses.
- Create a practice routine to build confidence on stage.
This will help you engage your audience and maintain a consistent flow.
Considering the live setting, practice responding to your audience’s energy. Adjust your loops based on their reactions, which could mean looping them more complex or keeping things simple. Plan for potential mistakes by having backup loops ready, and introduce spontaneity by adding improvised segments to your performance.
- Engage with the crowd to build a connection.
- Have a setlist but stay flexible for improvisation.
- Be mindful of your timing and transitions.
This adaptability will enhance your overall performance, creating a memorable experience for you and your audience.
Common Mistakes to Avoid
Now that you’re equipped with a looper pedal, it’s important to recognize common mistakes that can hinder your practice. You might be tempted to dive straight into complex arrangements without mastering the basics or neglecting timing, which can lead to frustrating experiences. By being aware of these pitfalls, you can enhance your looping skills and make the most of your practice sessions.
Timing Issues
Below, you’ll find that one of the biggest challenges players face is maintaining consistent timing while looping. If your timing is off when you first start recording, every subsequent layer will also sound out of sync, leading to a disjointed musical piece. Take the time to practice your rhythm before layering additional loops to ensure everything feels tight and cohesive.
Overcomplicating Loops
Before getting ahead of yourself, it’s important to keep your loops simple, especially as a beginner. A common mistake is trying to incorporate too many elements and unnecessary complexities into your looping. This can make your sound cluttered and overwhelming, rather than enhancing your music.
In addition, focusing on simplicity allows you to better understand how each layer interacts with one another. Start with a basic chord progression or rhythm track, then gradually add additional layers as you become more comfortable. This approach not only enhances clarity but also helps you develop a stronger musical foundation, allowing your creativity to shine through without unnecessary distractions.
Exploring Creative Possibilities
Your journey with a looper pedal opens up a world of creativity that can elevate your guitar playing. By layering multiple guitar lines, you can create rich textures and captivating soundscapes. As you dive deeper into this tool, you’ll find innovative ways to express yourself musically. For insights on Why you NEED a looper pedal and 5 easy steps to get …, you can enhance your playing and imagination.
Building Song Ideas
With a looper pedal, you can seamlessly stack riffs and melodies to develop unique song ideas. This allows you to experiment with different musical structures and arrangements, leading to unexpected and enjoyable creative outcomes. Play around with tempo and dynamics to further enhance your compositions.
Collaborating with Other Musicians
One of the most exciting aspects of using a looper pedal is the opportunity to collaborate with other musicians. You can lay down a foundation for your fellow artists to interact with, creating a dynamic and engaging performance. This collaborative environment helps to inspire creativity and generate new ideas as everyone adds their unique contributions.
Understanding how to effectively use a looper pedal during collaborations can change the way you create music. When working with fellow musicians, you can establish a solid loop that they can respond to, providing a backdrop for harmony, solos, or additional rhythms. This interaction can foster spontaneity and exciting musical exchanges, enabling you to push the boundaries of your creativity together.
To wrap up
To wrap up, using a looper pedal can significantly enhance your guitar playing by allowing you to layer sounds and create a full musical experience. Start by selecting your desired sound and tempo, then record your first loop, ensuring you play with a steady rhythm. You can build complexity as you introduce additional layers, harmonies, or solos. Experiment with different effects and tempos to discover unique soundscapes. With practice, your looper pedal will become an crucial tool in your musical toolkit, opening up new avenues for creativity and expression in your playing.
FAQ
Q: What is a looper pedal, and how does it work?
A: A looper pedal is a device that allows musicians to record a short musical phrase and then play it back in a loop. The basic operation involves pressing a button to start recording, playing your desired guitar riff or chord progression, and then pressing the button again to stop the recording. The recorded loop can then be played back repeatedly while you add more layers or play along with it. Some pedals offer advanced features like adjustable tempo, multiple tracks, and effects.
Q: How do I set up my guitar with a looper pedal?
A: To set up your guitar with a looper pedal, start by connecting your guitar to the input of the looper using a standard instrument cable. Then, connect the output of the looper to your amplifier or audio interface. If you’re using additional pedals, make sure the signal chain is correct (guitar > effects > looper > amp). Once everything is connected, power on your looper pedal, and you are ready to record your loops.
Q: What are some tips for creating interesting loops?
A: To create interesting loops, consider experimenting with different musical elements such as varying the rhythm, changing dynamics, using different chord voicings, and adding effects. Start with a simple chord progression or melody, and once you have that loop recorded, layer additional parts like harmonies, riffs, or percussion using strumming or tapping techniques. Additionally, try using the looper’s features, such as undo/redo and tempo adjustment, to manipulate your loops further and keep things fresh.
Q: Can I use a looper pedal in a live performance?
A: Yes, a looper pedal can be an excellent tool for live performances. It allows you to create a full band sound by layering various guitar parts. Practice using the looper to build your loops seamlessly in real time. Ensure that you have a good understanding of the tempo and timing, as live looping requires precise control. It’s also beneficial to have a backup plan in case of technical difficulties, such as having a rhythm track ready in case you need to switch to a different approach.
Q: Are there specific techniques to improve my looping skills?
A: To improve your looping skills, practice regularly and focus on your timing. Start with simple loops and gradually advance to more complex compositions. Utilize a metronome during practice to develop your sense of timing. Experiment with different genres and styles to expand your creativity. Watching tutorials and performances can also provide inspiration and new techniques. Finally, consider recording your practice sessions to identify areas where you can improve.