
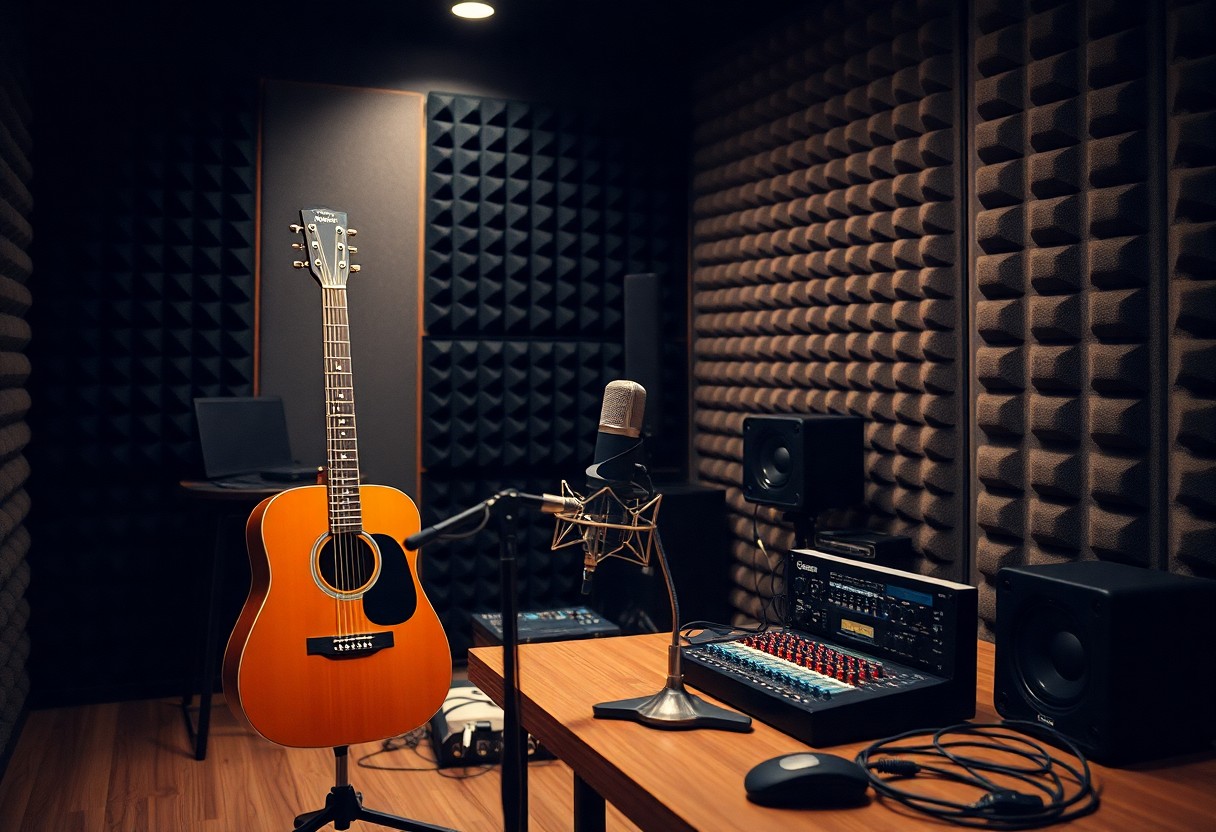

Many aspiring musicians want to capture the sound of their guitar at home but aren’t sure where to start. Understanding the basics of home recording can transform your practice sessions into polished tracks that showcase your musical talent. In this guide, you’ll learn about crucial equipment, techniques, and tips to help you effectively record your guitar, ensuring your sound is clear and professional. Get ready to unlock your creativity and bring your guitar recordings to life!
Equipment Needed
Your home recording setup can greatly impact the quality of your guitar recordings. You’ll need the right mix of guitars, accessories, and recording gear to create the best sound possible. Investing in imperative equipment will enhance your home studio experience, allowing you to produce high-quality tracks that showcase your talent. Let’s explore what you need to get started.
Guitars and Accessories
Equipment such as electric or acoustic guitars, guitar picks, cables, and strap locks are fundamental to your recording setup. Your choice of guitar will influence the sound you create, while the accessories ensure your performance is smooth and professional. A reliable tuner and capo can also come in handy for achieving that perfect tone and enhancing your creative options.
Recording Gear
Gear including audio interfaces, microphones, and headphones is imperative when it comes to capturing your guitar’s sound. An audio interface converts your analog signal into digital form, while microphones allow you to capture the nuances of your instrument. Good quality headphones will help you monitor your recordings without any interference.
Understanding how each piece of recording gear works together is vital for achieving optimal sound quality. For instance, a USB audio interface allows you to connect your guitar directly to your computer, while dynamic or condenser microphones are used to record acoustic guitars or amps. Knowing how to position your microphone can dramatically change the tone you capture. Furthermore, software like Digital Audio Workstations (DAWs) will enable you to mix and edit your recordings efficiently, giving you complete control over the final product.
Setting Up Your Recording Space
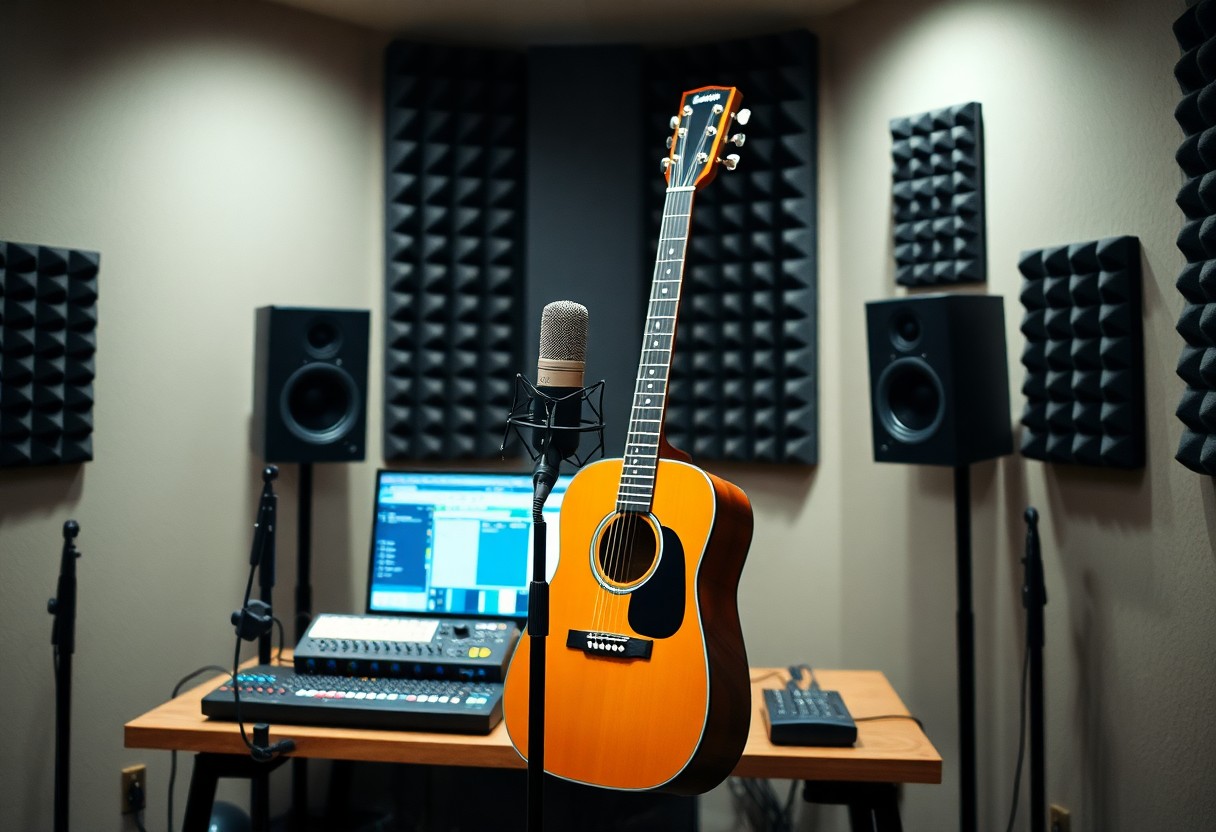
Some important steps can help you create an effective recording space at home. Start by designating a quiet room where outside noise is minimal and acoustics are manageable. Consider how you can organize space to fit your gear, ensuring that you have easy access to all your recording equipment while maintaining an inspiring atmosphere.
Room Selection and Treatment
Among the various aspects to consider for your recording space, the selection of the right room plays a significant role. Aim for a space with minimal echoes and background noise. You can enhance the sound quality by strategically placing acoustic panels, rugs, or curtains to help reduce unwanted reflections and create a more controlled environment.
Microphone Placement Techniques
The position of your microphone can significantly impact the quality of your guitar recording. Experiment with different placements relative to your guitar to find the sweet spot that captures the sound accurately. Typically, placing the microphone about 6 to 12 inches away from the guitar and pointed at the 12th fret can yield a balanced tone, but you should adjust based on your specific instrument and style.
Plus, don’t hesitate to try different angles and distances. Small adjustments can drastically alter the audio character, so tweaking the mic placement in real-time while listening will help you capture the desired sound. For a warmer tone, move closer to the body of the guitar, while a slightly farther distance can create a more open sound. Taking the time to experiment will ultimately enhance your recordings significantly.
Choosing Your Recording Software
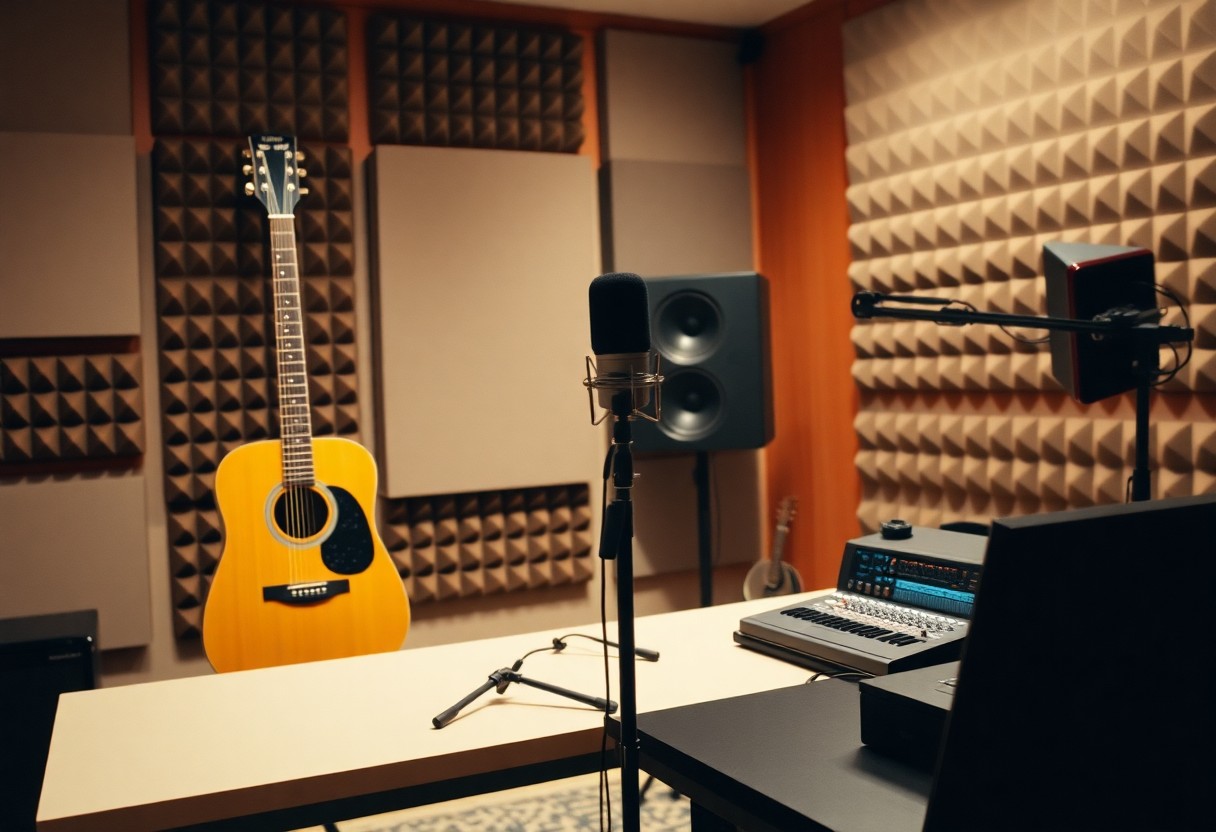
If you want to capture your guitar playing effectively, selecting the right recording software is critical. There are numerous options available that cater to different skill levels and needs. Whether you are a beginner or an experienced musician, spending time researching and testing various software can help you find the perfect fit for your recording projects.
Digital Audio Workstations (DAWs)
Above all, your choice of a Digital Audio Workstation (DAW) will set the foundation for your recording setup. DAWs are crucial tools that allow you to record, edit, and mix your guitar tracks. Popular choices include Ableton Live, GarageBand, and Pro Tools, each offering unique features tailored to various workflows and preferences.
Essential Software Plugins
Among the tools you will want to consider are crucial software plugins that enhance your recording experience. These plugins can provide various effects, virtual instruments, and sound enhancements that expand your creative possibilities. From amp simulators to reverb and compression tools, the right plugins can greatly elevate the quality of your recordings.
Essential plugins range from virtual amp simulators that mimic classic guitar tones to effects like delay and reverb that can add space and depth to your sound. You might also want to explore EQ and compressor plugins, which will help refine your recordings by balancing frequencies and controlling dynamics. Investing in quality plugins can make a noticeable difference in achieving professional-sounding tracks from the comfort of your home.
Recording Techniques
All successful home recordings hinge on mastering a few vital techniques. You’ll want to explore various approaches to capture your guitar’s sound effectively, whether through direct input or by mic’ing your amplifier. Understanding the nuances of each method can significantly impact the quality of your recordings, allowing you to choose what best suits your style and the mood of your songs.
Direct Input vs. Mic’d Performance
Techniques such as Direct Input (DI) allow you to connect your guitar straight to your audio interface, providing a clean and precise sound. Alternatively, mic’ing your amp captures the character and warmth of your amplifier, giving the recording a more organic feel. Each method has distinct advantages, and experimenting with both can help you find the perfect balance for your recordings.
Layering and Effects
Along the way, you’ll discover that layering your guitar parts can create a richer and fuller sound. By recording multiple takes of the same riff or chord progression, you enhance depth and dimension. Integrating effects like reverb, delay, or chorus during or after recording not only personalizes your sound but also helps you to craft beautifully textured tracks that stand out.
And as you experiment with layering and effects, consider the importance of balance. Too many layers can muddy your mix, while too few may leave it sounding sparse. Focus on harmonizing your guitar tracks by adjusting volume levels and panning in the stereo field. The right effects applied thoughtfully can add excitement and energy to your sound, transforming a simple guitar line into a captivating auditory experience.
Mixing Your Guitar Tracks
To achieve a polished sound, mixing your guitar tracks involves balancing levels, panning, and adding effects to create depth. By adjusting volume and spatial positioning, you can ensure your guitar blends seamlessly with other instruments, enhancing the overall mix. Pay close attention to each track’s role and how it contributes to the song’s dynamic. Experimenting with these elements can elevate your recording from simple to professional.
Basic Mixing Concepts
Along with adjusting levels, understanding panning is crucial. Panning distributes sound across the stereo field, allowing you to create a more immersive listening experience. Begin with a balanced mix by placing your guitars in the stereo image so they complement other instruments without overpowering them.
EQ and Compression Tips
For refining your guitar sound, employing EQ and compression is vital. Use EQ to cut unwanted frequencies, making space for other elements in the mix, and apply compression to even out dynamics. This ensures that your guitar remains prominent without dominating. Here are some tips:
- Focus on cutting frequencies instead of boosting them.
- Utilize a compressor to manage peaks and maintain consistency.
- Experiment with settings to find the sweet spot for your tone.
Any adjustments should be made in moderation to retain the natural character of your sound.
With EQ, try to identify problematic frequencies that may clash with other instruments. A common approach is to notch out between 200-500Hz for clarity and enhance the sparkle by boosting slightly around 3-4kHz. Concerning compression, aim for a ratio of 2:1 or 3:1 with a moderate attack time; this keeps your dynamics in check without losing the expressive quality of your playing. These techniques will help you craft a professional mix, ensuring your guitar stands out effectively in the final product.
- Maintain a balance between aggressive compression and preserving dynamics.
- Tweak EQ settings while listening to the overall mix context.
- Experiment with different compressor types to find what suits your style.
Any changes you make should enhance the overall musicality rather than detract from it.
Common Mistakes to Avoid
Many aspiring guitarists make the mistake of overlooking the importance of proper mic placement and room acoustics, which can significantly impact the quality of your recordings. Additionally, neglecting to monitor your levels or failing to do proper takes can result in uneven sound quality or wasted hours of recording. Pay attention to these details to ensure a smoother recording process and polished final product.
Technical Issues
On occasion, you may encounter technical issues such as recording latency or connections issues with your interface. Taking the time to check your equipment and software settings before recording can save you from frustrating and time-consuming problems later on.
Creative Pitfalls
One common mistake is settling too quickly on ideas or arrangements without fully exploring your creative options. You might find yourself limiting your expression by sticking to familiar patterns or sounds that feel comfortable.
Due to a lack of exploration, your recordings may lack originality and excitement. Allow yourself the freedom to experiment with different genres, effects, or improvisational elements. This openness can lead to unique sounds and arrangements, enhancing your overall guitar recordings and keeping your creative juices flowing.
To wrap up
With these considerations in mind, you can successfully record your guitar at home, also allowing you to explore your creativity and refine your sound. Start by assembling the right gear and software tailored to your needs, and don’t hesitate to seek guidance from various online communities. For example, check out this [Question] What would a basic set-up be for home recording? thread for valuable insights. Your journey into home recording could lead to impressive results with a bit of practice and experimentation.
FAQ
Q: What equipment do I need to start recording my guitar at home?
A: To start recording your guitar at home, you will need a few vital items. First, a good quality audio interface is necessary for connecting your guitar to your computer. Second, a digital audio workstation (DAW) software like Ableton Live, GarageBand, or Pro Tools will allow you to record and edit your tracks. Additionally, you might consider investing in a decent microphone to capture the sound of an acoustic guitar, as well as some studio monitors or headphones for accurate playback. Lastly, ensure you have an instrument cable, and your guitar should be equipped with fresh strings for the best sound.
Q: How can I improve the sound quality of my guitar recordings at home?
A: To enhance the sound quality of your guitar recordings, start with a well-tuned instrument and a quiet recording environment. Position your microphone properly if you’re recording acoustically; typically, this means placing the microphone about 6-12 inches away from the guitar, angled towards the sound hole. Use pop filters and foam panels to minimize unwanted noise or room reflections. Make sure your interface settings are optimal; recording at a sample rate of 44.1 kHz or higher can also make a difference. Additionally, experimenting with EQ and compression during the mixing process will yield a clearer and more polished sound.
Q: What are some tips for mixing and producing my guitar tracks at home?
A: When mixing and producing your guitar tracks at home, take a few key steps for a professional finish. Firstly, organize your session by labeling tracks clearly and grouping similar instruments for easier navigation. Use panning techniques to create a wider stereo image, placing different guitar parts in the left or right channels. Pay attention to levels; balance the guitar tracks with other elements, such as vocals or drums. Applying effects such as reverb or delay can create depth but should be used sparingly. Lastly, reference your mix against professional tracks to assess its quality and make necessary adjustments to achieve the desired sound.